Step-By-Step Guide: How To Remove Oxidation From Car Paint
If your vehicle's paint looks dull, faded, or chalky, you're likely dealing with oxidation. This is a common issue caused by sun exposure, air pollution, and moisture breaking down your clear coat over time. Left untreated, oxidation advances from surface dullness to full clear coat failure - a point where polishing no longer works and repainting becomes the only option.
In this guide, L&M Pro Car Detailing explains how to remove oxidation from car paint, what tools you need, and when it's better to let a professional handle it. We also cover how to identify the severity of oxidation - light, moderate, or severe - so you can choose the right approach from the start.
Key Takeaways
- To remove oxidation from car paint, wash, decontaminate, compound, polish, and protect the surface
- Oxidation causes paint to look faded, dull, and chalky
- Light oxidation can be corrected in 1 step (70–90% defect removal), while severe oxidation may require multi-stage correction
- Always test a small area before working on the full vehicle
- Protection after correction is required to prevent it from coming back
- Severe oxidation often needs professional paint correction
What Is Car Paint Oxidation?
Car paint oxidation happens when UV exposure breaks down the outermost paint layer (clear coat on modern vehicles or single-stage paint on older vehicles), causing the surface to lose gloss, fade in color, and develop a chalky texture.
As the clear coat degrades:
- Protection weakens
- Contaminants bond easier
- Paint becomes more vulnerable to permanent damage
If oxidation progresses too far, polishing will no longer restore the surface - repainting becomes the only solution.
Oxidation vs Other Paint Damage
Not all paint defects are oxidation. Misidentifying the problem leads to wrong correction methods.
| Issue | Appearance | Fix |
|---|---|---|
| Oxidation | Dull, chalky, faded | Compound + polish |
| Swirl marks | Circular light scratches | Polish |
| Clear coat failure | Peeling, flaking | Repaint only |
If the paint is peeling, polishing will not fix it - this is clear coat failure, not oxidation.
Levels Of Oxidation: Light, Moderate, And Severe
Not all oxidation is the same. Identifying the level before you start saves time, money, and prevents unnecessary paint removal.
Light Oxidation
- Paint looks slightly dull, but color is still mostly visible
- Water still beads, but less aggressively than before
- Correction: 1-step polish or AIO (typically delivers strong visual improvement depending on paint condition)
Moderate Oxidation
- Fading is noticeable, surface feels rough or chalky
- You may see residue when lightly rubbing the surface, but this is not a definitive test on its own
- Correction: 2-step (compound + polish)
Severe Oxidation
- Paint looks chalky white, color is heavily faded or patchy
- The clear coat may be peeling or flaking in spots
- Correction: multi-stage or repaint required. DIY correction is risky - professional assessment is strongly recommended
- If clear coat failure has started, repainting may be the only solution
How To Identify Oxidized Car Paint
You can quickly check with a few simple signs:
- The paint looks dull instead of glossy
- Color appears faded or uneven
- Surface feels rough or chalky
- Water doesn’t bead properly
If you rub the surface and see a white or colored residue on your fingers, that can indicate oxidation, especially on single-stage paint, but should be used together with other signs for accurate assessment.
Tools Needed To Remove Oxidation From Car Paint
For best results, use proper detailing tools:
- Dual Action (DA) polisher (recommended over hand application)
- Foam pads (cutting and finishing)
- Rubbing compound (for defect removal)
- Finishing polish (for gloss enhancement)
- Microfiber towels
- pH-neutral car wash soap
- Clay bar or clay mitt
Advanced tools (recommended):
- Paint thickness gauge (optional but recommended for older or repainted vehicles)
- IPA (isopropyl alcohol) wipe to remove polish oils before inspection
Pro Tip: A DA polisher is much safer than a rotary buffer and ideal for beginners. If you're working on a vehicle with unknown paint thickness, a paint depth gauge helps you avoid cutting too deep through the clear coat. Most factory clear coats are only ~30–50 microns thick, and polishing removes a measurable portion of that layer.
Step-by-Step: How To Remove Oxidation From Car Paint
1. Wash And Dry Thoroughly
Remove all dirt and debris to prevent scratching during correction. Use a two-bucket wash method - one bucket for soapy water, one for rinsing your mitt - to minimize swirl marks during the wash stage.
2. Decontaminate With Clay
Use a clay bar to remove embedded contaminants. This ensures the polishing stage works effectively. Spray clay lubricant liberally and work the clay bar in straight or controlled motions with light pressure. Avoid aggressive circular scrubbing. If you drop the clay bar, discard it immediately.
3. Test A Small Area First
Always test your process on a hidden section to determine:
- How aggressive does your approach need to be
- How the paint responds
Start with the least aggressive combination (light compound + light pad) and step up only if needed. This protects thin or sensitive paint from unnecessary removal.
4. Use A Rubbing Compound (Correction Stage)
A rubbing compound removes the oxidized layer by cutting into the clear coat. This is the most critical step.
- Use a cutting pad
- Work in 2’x2’ sections
- Use slow, overlapping passes
- Actual defect removal varies significantly depending on paint type, hardness, and technique
5. Polish To Restore Gloss
After compounding:
- Switch to a finishing pad
- Use a polish to refine the surface
- This restores depth, clarity, and shine
After polishing, wipe the panel with an IPA (isopropyl alcohol) solution (10–20% diluted) to remove polish oils and see the true corrected surface before moving to protection.
6. Wipe Down And Inspect
Use a clean microfiber towel to remove residue and inspect under good lighting. A swirl finder light or direct sunlight at a raking angle will reveal any remaining defects you may have missed.
7. Apply Protection (Critical Step)
Without protection, oxidation will return over time, especially under frequent UV exposure. Choose one:
- Wax (short-term protection, 1–3 months)
- Paint sealant (longer durability, 4–6 months)
- Ceramic coating (1–5+ years with proper maintenance and care)
For vehicles in Everett, WA, where UV exposure, rain, and road contaminants are year-round concerns, ceramic coating offers the best value for long-term protection after oxidation removal.
Rubbing Compound Vs. Polish: What’s The Difference?
| Product | Purpose | When to Use |
|---|---|---|
| Rubbing Compound | Removes oxidation, scratches, and defects | First step for correction |
| Polish | Enhances gloss and clarity | After compounding |
| AIO (All-In-One) | Light compound + polish in one step | Light oxidation only - saves time |
Most vehicles require both compound and polish steps for best results.
Pro Tips Most Guides Don’t Mention
- Single-stage paint vs clear coat: Older vehicles may not have a clear coat; these require extra caution
- Paint thickness matters: Over-polishing can permanently damage your paint
- Heat buildup is dangerous: Keep the polisher moving to avoid burning edges
- Not all oxidation is removable: If clear coat failure has started (peeling), repainting is the only fix
- Darker colors hide correction better: White and silver vehicles show holograms (buffer trails) more easily and require a proper finishing polish.
- Work in shade or a garage: Applying compound in direct sunlight causes it to dry too quickly, reducing effectiveness and leaving residue.
Does Oxidation Affect RVs Too?
Yes, RVs are highly prone to oxidation, often more severely than standard vehicles due to constant outdoor exposure and larger surface areas.
RVs spend significantly more time parked outdoors, are rarely stored in a garage, and have large horizontal roof surfaces that receive direct, uninterrupted UV exposure year-round. This combination makes RVs especially prone to oxidation on both the body panels and the roof.
Oxidation On RV Body Panels
On RV body panels, oxidation appears the same way it does on a car — dull, chalky paint that doesn't bead water.
The correction process is similar:
- Clean
- Decontaminate
- Compound
- Polish
- Protect
However, the sheer surface area of an RV makes DIY correction significantly more time-consuming and physically demanding.
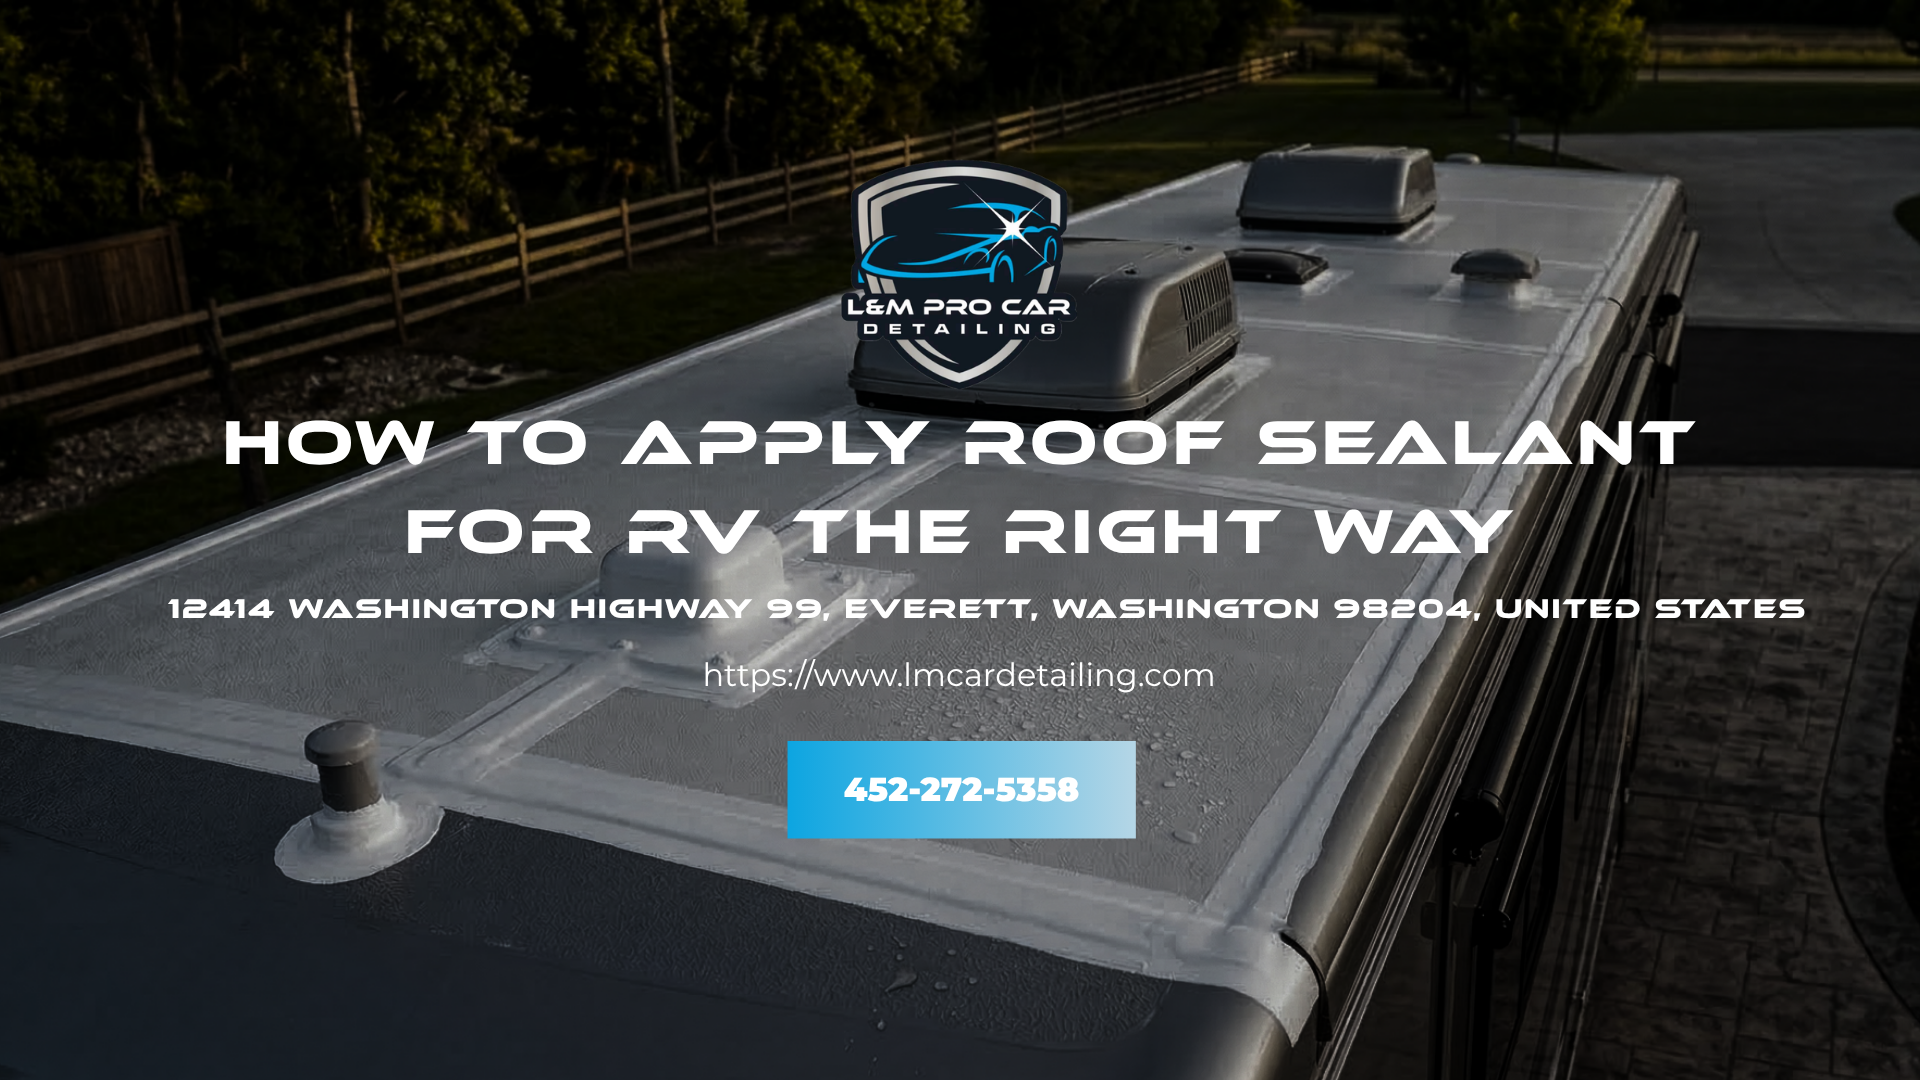
Oxidation On RV Roof Surfaces
On the RV roof, oxidation is a more complex problem. Unlike body panels, the roof surface is often made of EPDM rubber, TPO, fiberglass, or metal - none of which respond to standard automotive polish.
Oxidation on these materials weakens the surface layer and prevents sealant from bonding correctly, which is one of the leading causes of early treatment failure.
If you're dealing with oxidation on your RV roof specifically, surface preparation, including proper oxidation removal, must happen before any sealant or protective coating is applied. Learn the full process in our guide on the best way to treat an RV roof.
What Makes RV Oxidation Harder To Address?
- Larger surface area requires more product, more time, and more physical effort
- Mixed materials across the vehicle (fiberglass, rubber, metal, painted panels) each require different products and techniques
- Roof oxidation can lead directly to sealant failure and water intrusion if not treated correctly
- Many generic automotive products are incompatible with RV roof materials
For most RV owners, professional oxidation removal and roof treatment is the more practical and cost-effective solution, especially when multiple surfaces and materials are involved.
At L&M Pro Car Detailing, our RV services cover both oxidation removal and roof treatment, ensuring each surface receives the correct preparation, product, and protection for long-term durability.
How To Prevent Oxidation From Coming Back
Once your paint is restored, maintenance is key. Understanding how often you should detail your car helps maintain consistent protection and prevent oxidation from returning.
- Wash your car regularly
- Apply wax or sealant every few months
- Park in the shade when possible
- Consider ceramic coating for long-term protection
- Avoid automatic car washes with stiff brushes - they introduce swirl marks that accelerate oxidation over time
- Use a paint-safe water repellent spray between full washes to reduce contaminant bonding
Without protection, oxidation will return gradually, with speed depending on environment and maintenance habits.
Common Mistakes To Avoid
- Skipping the test spot
- Using too much pressure or aggressive products
- Staying too long in one area (can burn paint)
- Not protecting the paint after correction
- Using the wrong pad - a cutting pad with a finishing polish (or vice versa) reduces effectiveness and can cause micro-marring
- Compounding in direct sunlight - product dries too fast and leaves difficult residue
These mistakes can make the damage worse instead of better.
When To Call A Professional
DIY works well for light oxidation, but consider professional detailing if:
- Paint is heavily chalky or patchy
- Oxidation covers large areas
- You’re unsure about paint thickness
- Previous attempts didn’t improve results
- You're working on an RV with mixed surface materials
A professional detailer uses paint depth gauges, advanced compounds, and machine polishing techniques to restore your vehicle safely.
Restore Your Vehicle The Right Way
Removing oxidation is possible, but doing it incorrectly can permanently damage your paint. If your vehicle has heavy oxidation or you want guaranteed results, professional detailing is the safest option.
L&M Pro Car Detailing offers expert Car Oxidation Removal & Paint Correction in Everett, WA, helping restore faded surfaces and protect them for the long run. Book your service today and bring back your vehicle’s original shine.
FAQs
Can oxidation be completely removed?
Light to moderate oxidation can usually be removed. Severe cases may require more advanced correction or repainting. If the clear coat is peeling, no amount of polishing will restore the surface. Repainting is the correct solution.
How long does it take to remove oxidation?
A small section may take 1–2 hours, while a full vehicle can take several hours or more. Moderate to heavy oxidation on a full-size vehicle can take 6–10 hours when done properly; cutting corners shortens the time but reduces results.
Will polishing damage my paint?
When done properly, polishing is safe. However, excessive or aggressive polishing can remove too much clear coat. A paint thickness gauge helps monitor how much material is being removed, especially on older vehicles with thinning clear coats.
How long will the results last?
With proper protection like wax or sealant, results can last several months or longer. With a professional ceramic coating, corrected paint can stay protected for 2–5 years with minimal maintenance.
Is it better to DIY or hire a professional?
DIY is fine for minor oxidation, but professional service is recommended for best results and long-term protection. For vehicles with moderate-to-severe oxidation, a professional will also check paint thickness to ensure correction is done safely without risking paint damage.
Does oxidation affect car resale value?
Yes. Heavily oxidized paint significantly lowers perceived vehicle value. Buyers and dealers will use paint condition as a negotiating point. Correcting oxidation before selling can recover far more than the cost of the service.
Can the same oxidation removal process be used on an RV?
Yes. Heavily oxidized paint significantly lowers perceived vehicle value. Buyers and dealers will use paint condition as a negotiating point. Correcting oxidation before selling can recover far more than the cost of the service.

Recent Blogs