Best Way To Treat An RV Roof For Long-Term Protection
Taking care of your RV roof is essential if you want to avoid leaks, oxidation, and expensive repairs. If you're wondering about the best way to treat an RV roof, it’s not just about applying sealant. Proper cleaning, inspection, and protection all work together to extend the lifespan of your roof.
In this guide, L&M Pro Car Detailing breaks down the most effective way to treat your RV roof, when DIY works, and when professional service is the better option.
Key Takeaways
- Proper roof treatment includes cleaning, inspection, and sealing
- Oxidation must be removed before applying any protection
- Sealant protects against water but provides limited UV resistance unless combined with coatings or protectants
- Regular maintenance helps prevent costly repairs
- Professional service ensures longer-lasting results

What Is The Best Way To Treat An RV Roof?
The best way to treat an RV roof is a combination of preparation, protection, and maintenance. Skipping any step can reduce effectiveness and lead to early failure.
A complete treatment process includes:
- Inspecting for damage or weak areas
- Cleaning and removing contaminants
- Eliminating oxidation buildup
- Applying the correct sealant or coating for your roof type
- Maintaining the roof on a regular schedule
Each step plays a direct role in protecting your RV from water damage, UV degradation, and long-term structural wear.
Inspect The Roof Before Any Treatment
Before applying any product, you need a clear picture of your roof's condition.
Look for:
- Cracks, open seams, or loose/failing sealant
- Soft spots or signs of water infiltration
- Vulnerable areas around vents, skylights, and roof edges
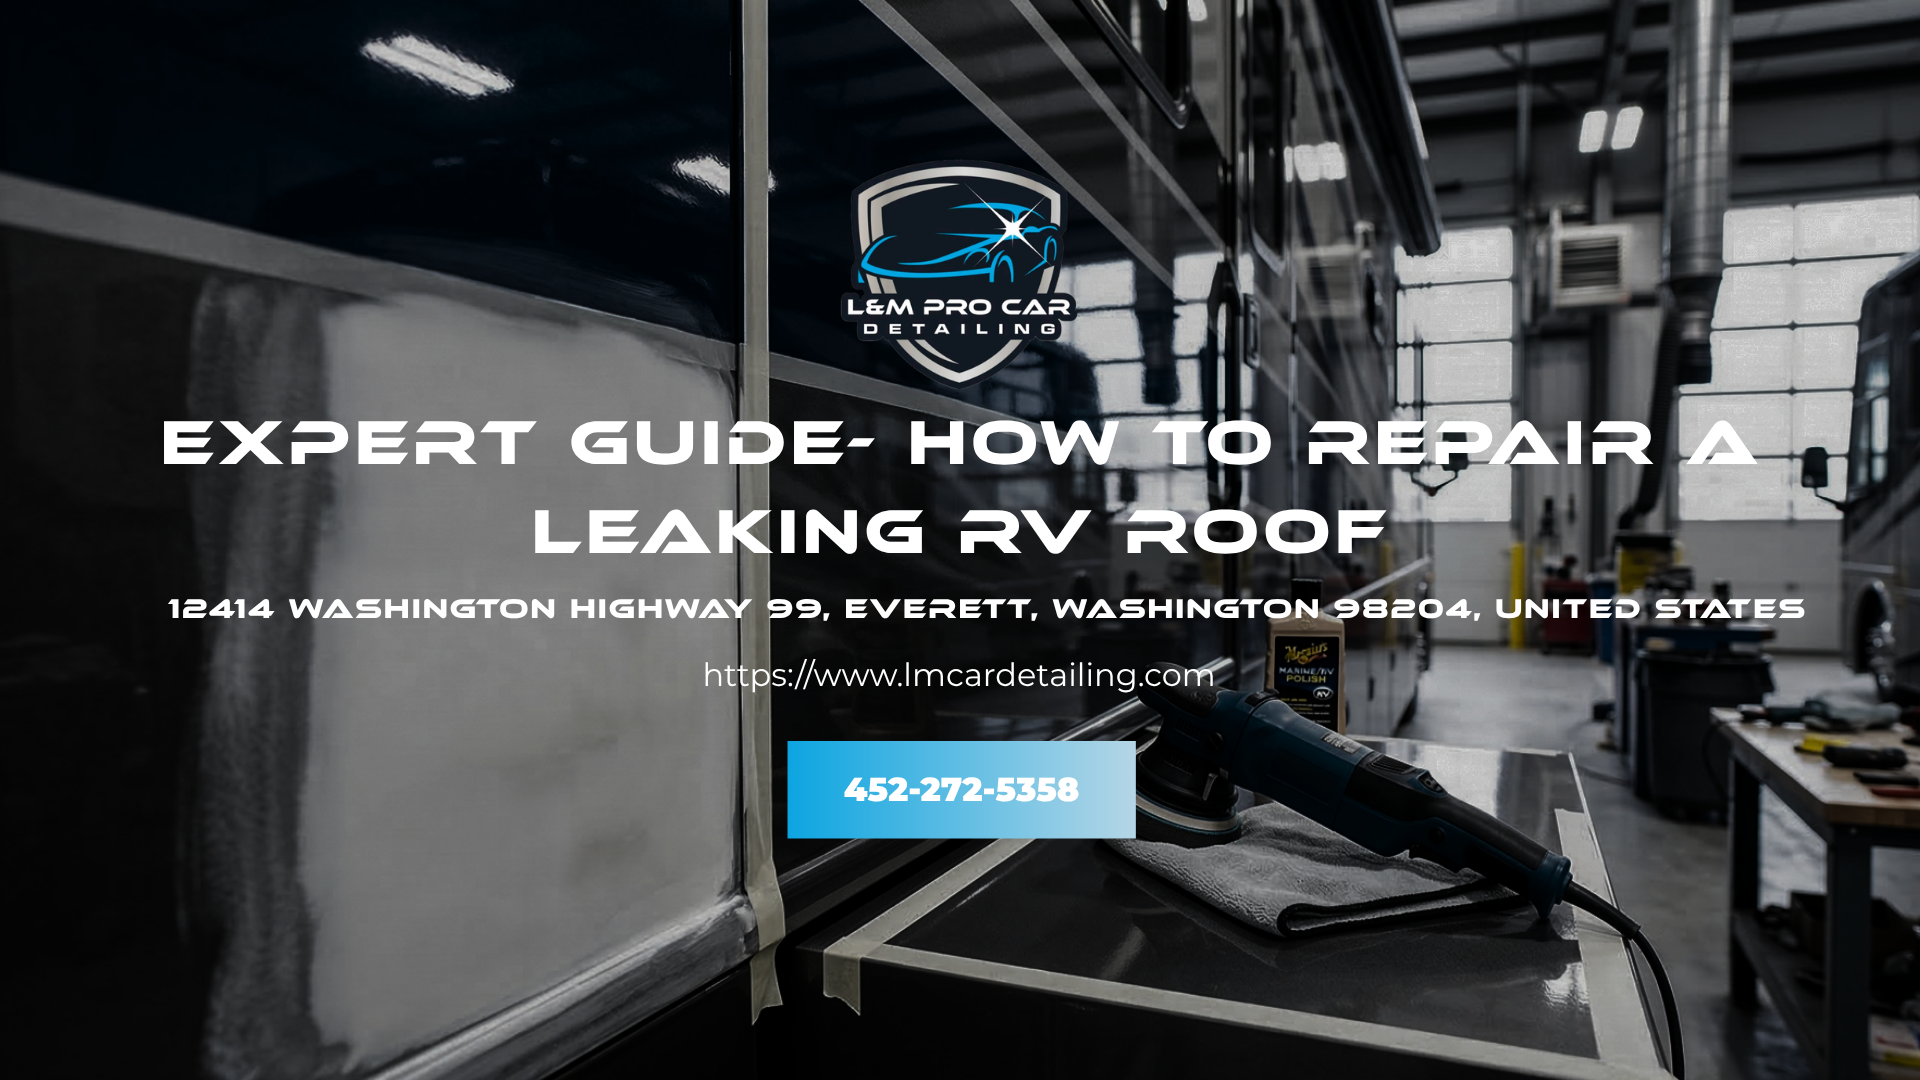
If you already notice active leaks or structural damage, treatment alone won't fix the problem. You'll need to repair a leaking RV roof properly before any protective coating or sealant is applied - otherwise you're sealing in moisture and accelerating damage.
Clean And Prepare The Surface Properly
Surface preparation is arguably the most important - and most overlooked - step in RV roof treatment.
Proper prep includes:
- Removing all dirt, debris, bird droppings, and grease
- Washing the surface with RV-safe, non-petroleum cleaning products
- Allowing the surface to dry completely before treatment
A contaminated or damp surface prevents proper bonding. Even the highest-quality sealant will fail if applied to a dirty or wet roof.
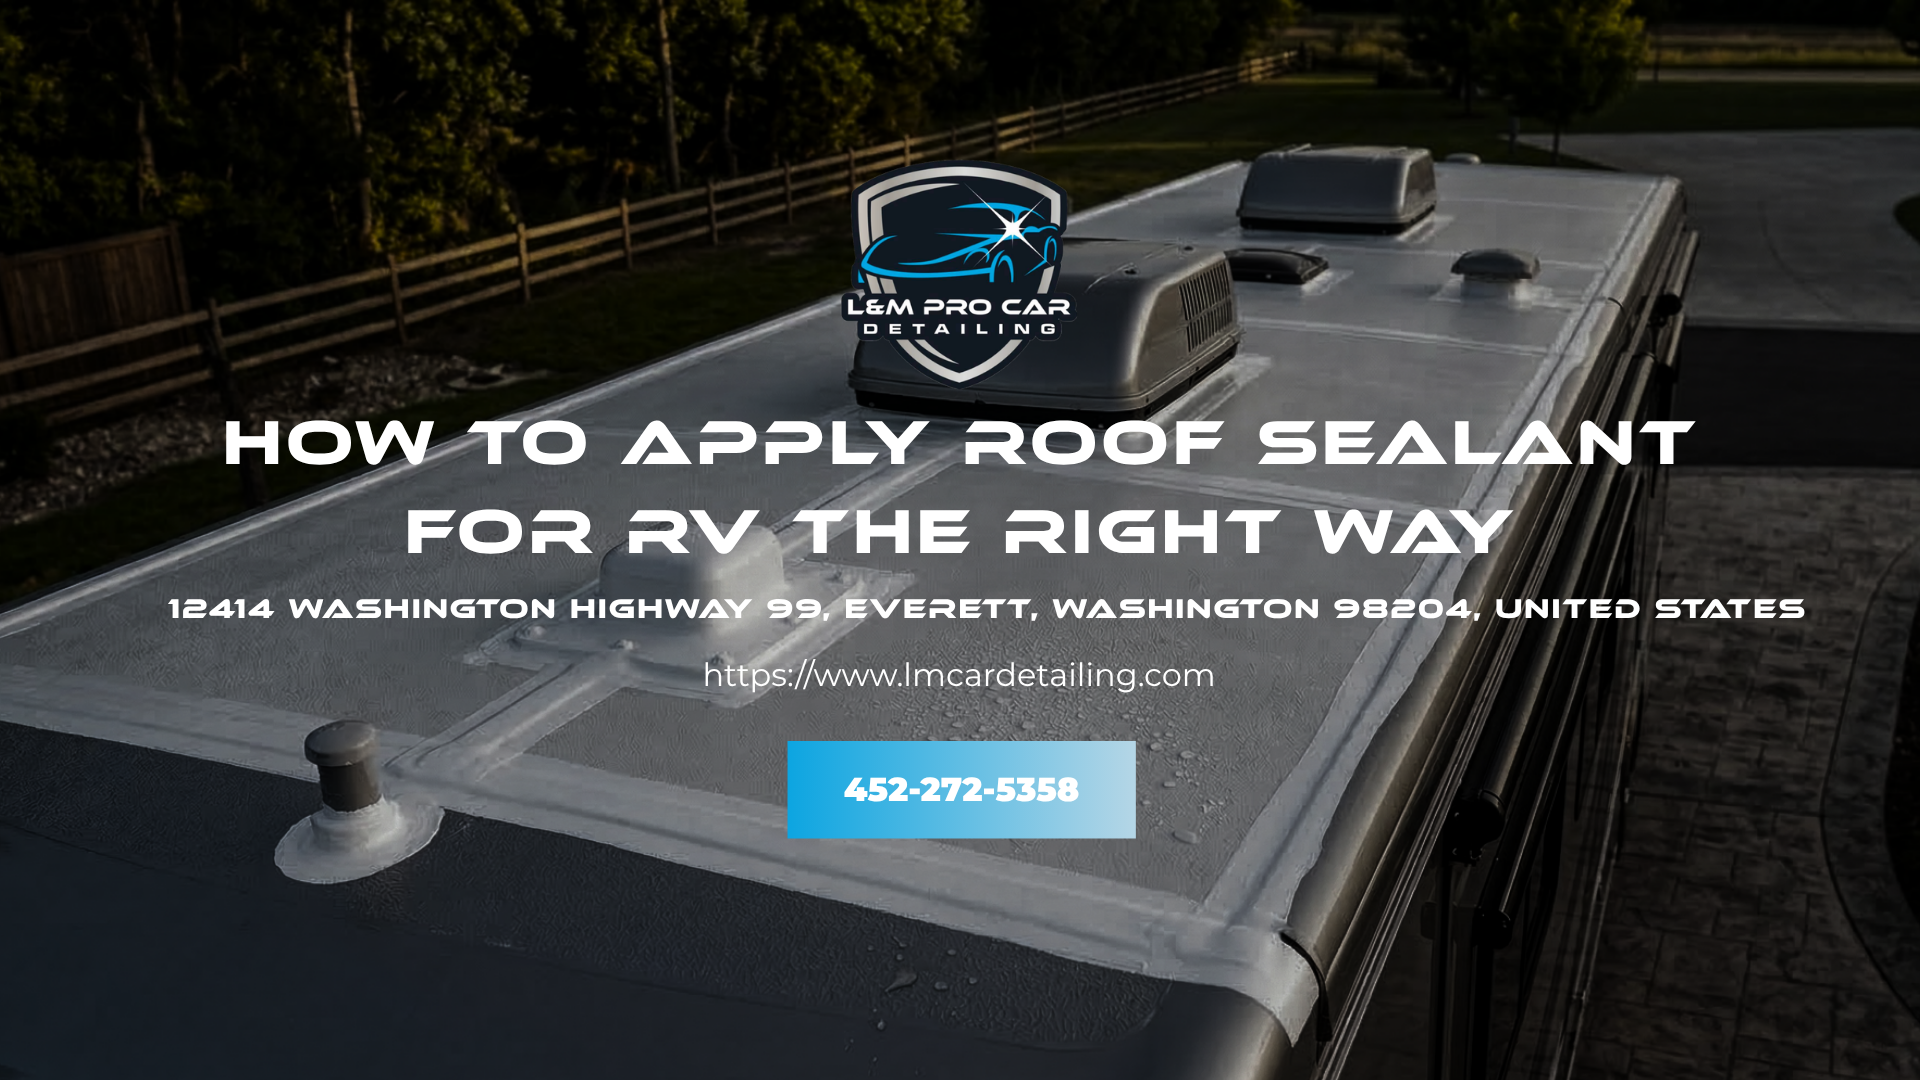
Remove Oxidation Before Sealing
Oxidation is one of the most common issues on RV roofs, especially after extended sun exposure. It presents as a chalky, powdery layer on the surface, and it actively undermines any treatment you apply.
If oxidation isn't removed first:
- Sealant won't bond correctly to the surface
- Protection breaks down significantly faster
- The underlying roof material continues to degrade beneath the coating
Oxidation removal isn't optional; in most cases it is a required step for proper adhesion and long-term performance.
Apply The Right Sealant Or Protective Treatment
Product selection is one of the most misunderstood steps in RV roof care. Using the wrong product for your roof type is one of the leading causes of premature sealant failure.
Here's what each roof type requires:
- EPDM Rubber Roofs: Use self-leveling lap sealant or EPDM-compatible coatings where needed. Avoid petroleum-based products, as they can degrade the membrane.
- TPO Roofs: Require TPO-compatible sealants. Many generic products won’t bond properly, leading to peeling within a year.
- Fiberglass Roofs: Fiberglass benefits more from polishing and UV-resistant coatings than from traditional sealants. These restore surface clarity and actively prevent oxidation from returning.
- Metal Roofs: Metal roofs need flexible, weather-resistant sealants capable of expanding and contracting with temperature changes - rigid sealants will crack over time.
Pro Tip: Even the best sealant will fail if applied to a poorly prepared surface. Bond strength depends more on preparation than on the product itself.
How Often Should You Treat Your RV Roof?
Routine care is what separates minor maintenance from expensive structural repairs.
General maintenance schedule:
- Inspect at least twice a year - ideally before and after camping season
- Clean regularly to prevent buildup and surface breakdown
- Reapply sealant every 3 to 5 years, or sooner if signs of wear, cracking, or adhesion failure appear
Staying consistent means small issues get caught early, before they turn into water damage, mold, or full roof replacement.
DIY Vs. Professional RV Roof Treatment
| Criteria | DIY RV Roof Treatment | Professional RV Roof Treatment |
|---|---|---|
| Inspection Accuracy | May miss hidden damage or weak spots | Thorough inspection of seams, vents, and problem areas |
| Surface Preparation | Often incomplete or rushed | Proper cleaning, oxidation removal, and prep |
| Product Selection | Risk of using incompatible materials | Correct products matched to roof type |
| Application Quality | Uneven coverage, higher failure risk | Even, controlled, and durable application |
| Long-Term Performance | Short-term results, more frequent fixes | Longer-lasting protection with fewer issues |
| Risk Of Future Leaks | Higher due to missed steps | Reduced with proper sealing and technique |
DIY maintenance has its place for routine cleaning and visual checks. But when it comes to full treatment, especially if oxidation, seam damage, or leaks are present, professional service delivers the precision, correct materials, and lasting results that DIY approaches often can't match.
If you want to avoid repeated repairs and catch hidden damage early, professional RV roof treatment is the smarter long-term investment.
Common Mistakes To Avoid
Avoiding these errors will significantly improve how long your roof treatment lasts:
- Applying sealant over old or failing material - always remove and replace deteriorated sealant first
- Skipping cleaning or oxidation removal - no coating bonds properly to a dirty or oxidized surface
- Using incompatible products - always match sealant to your specific roof material
- Ignoring early warning signs - small cracks and soft spots become major structural problems quickly
Treating the roof without inspecting underneath - visible surface damage often indicates deeper water infiltration
Book RV Roof Sealing & Leak Prevention Today
Not sure how to treat your RV roof without risking costly mistakes?
At L&M Pro Car Detailing, we offer professional RV Roof Sealing & Leak Prevention as part of our full RV services, protecting your vehicle from leaks, UV damage, and long-term wear and tear. Our process covers thorough inspection, proper surface preparation, and high-quality product application for results that actually last.
Book your RV Roof Sealing & Leak Prevention today and keep your RV protected for every trip ahead.
FAQs
How often should I treat my RV roof?
Most RV roofs should be inspected twice a year and treated or resealed every 3 to 5 years, depending on usage and weather conditions.
How Much Does RV Roof Treatment Cost?
RV roof treatment typically costs between $100 – $300 for DIY and $500 – $1,500+ for professional service, depending on the roof condition, size, and materials used.
Can I treat my RV roof myself?
Yes, basic maintenance can be done yourself. However, improper preparation or application can lead to early failure, so professional service is recommended for long-term protection.
What is the most important step in RV roof treatment?
Surface preparation is the most critical step. Without proper cleaning and oxidation removal, any sealant or coating may not bond correctly.
Does roof sealant protect against UV damage?
Sealant primarily blocks water intrusion. UV protection typically requires additional coatings or treatments, especially for rubber and fiberglass roofs.
When should I hire a professional for RV roof treatment?
If your roof shows visible damage, oxidation, active leaks, or if you want reliable long-term protection, professional service is the recommended choice.

Recent Blogs